Your big day is coming soon, and you can’t wait to wear your magnificent white dress and say the big “Yes”…on a budget. Suppose you are a creative person and want to plan your wedding day without spending thousands of dollars on things you can create yourself. Well, the good news is that you don’t have to break the bank to make the most out of your special day. In this article, you can find the best DIY ideas for a budget-friendly wedding fairytale:
Choose the flowers and DIY the bouquet
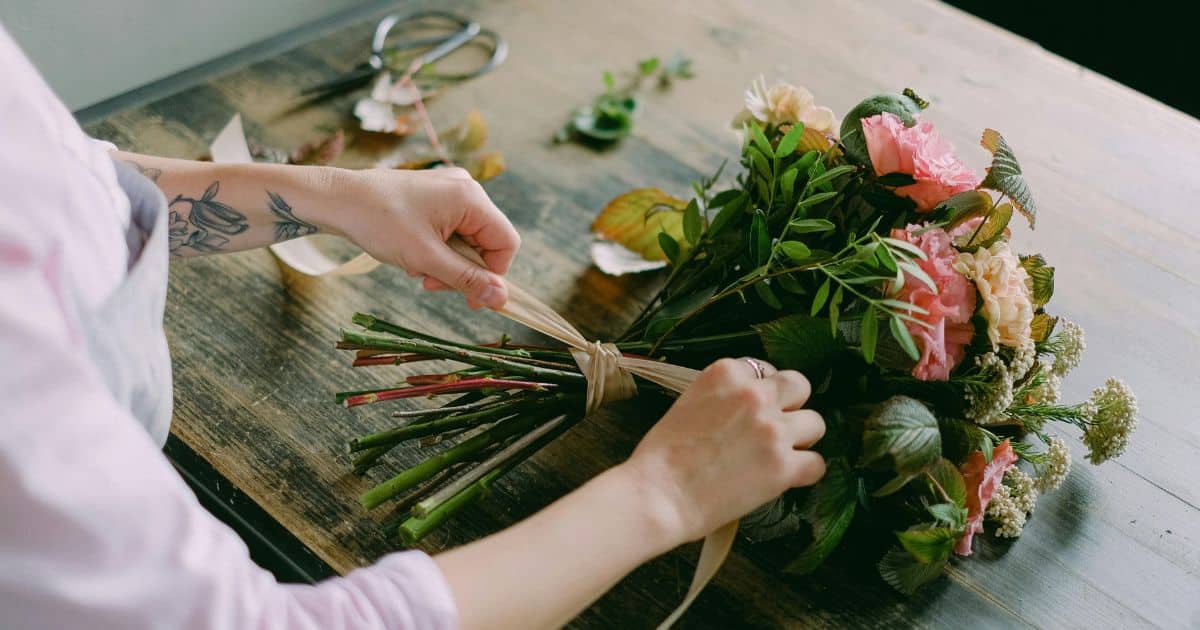
Creating your bouquet might sound intimidating, as it is an essential statement for your wedding. Still, if you are a crafty person and want to avoid spending money on hiring a floral designer, with a little bit of research and creativity, you can assemble a unique bouquet. For instance, this is how you can design your DIY bouquet in 6 easy steps:
- Choose the blooms: first of all, it’s essential to pick your flowers based on your colour palette for the wedding; select a few options so you can choose the perfect match.
- Build the base: start by building the framework and shape of your bouquet, integrating the flowers that will fade through the more prominent blooms.
- Create the focus point: the main hue in your wedding colour palette can be the centre of attention of your flower arrangement. You can opt for bigger flowers matching the wedding tone and colours.
- Add smaller greenery: to create a unique bouquet, small greenery can add a pop of style and make a big difference in the final result. Also, consider adding some smaller blooms to balance the design.
- Snip stems: your blooms’ stems need to be the same size, so snipping is an essential step to ensure a symmetrical arrangement.
- Secure it: Wrap your bouquet tightly with a rubber band to secure it, and then add a ribbon for a classic, clean look.
Build a dreamy background
If you are handy and creative, a DIY backdrop is a must for your big day. Your wedding background will frame your entire event, as it will be the place where you say “yes”. So, it’s essential to carefully choose the elements you want to integrate into your project. Get the glue gun and follow these steps to create a dreamy background:
- Choose the base: obviously, you need a base to start from; grids, for instance, are versatile and easy to assemble. Decide what shape you prefer, circular or square.
- Select the elements: now it’s time to choose the flowers, greenery, ribbons and other ornaments you want to integrate into your background.
- Find your inspiration: with a quick research on Pinterest, you can find multiple examples of beautiful wedding backgrounds.
- Assemble: get some extra help, a glue gun and begin your décor project.
Seasonal wedding favours for your guests
Wedding favours are a way to thank your guests for being by your side on your special day. These heartfelt gifts are very appreciated and the best thing is that you can DIY them to reduce some costs. First of all, you should consider the season of your wedding ceremony; for instance, if your wedding is taking place in winter, to enhance the holiday vibe, you can opt for cute, budget-friendly Christmas bottle bags containing personalised bottles of wine with their name printed on it. For a spring wedding, consider building mini-bouquets with seasonal flowers to add some colour to your “thank you” message. Otherwise, for a summerish vibe, you can gift your guest mini bottles of lemonade you can make at home, or vials filled with delicious local honey and adorn them with some personalised labels.
Create unique DIY invitations
Wedding invitations might not be very budget-friendly, but, of course, you can DIY them for much less. Before starting your crafty plan, it’s essential to find a design for inspiration. After that, get familiar with the costs of the materials needed and opt for the best offers to stick to your budget. Now that you have everything ready, this is how you can DIY beautiful invitations for your guests:
- Identify your style: would you like something more classic and elegant or colourful and joyous? Identify the design style that matches your personality to create unique invitations.
- Pick the paper: you must know that there are plenty of types of paper on the market, and some of them might be expensive, but don’t panic; you can opt for simple-looking paper and give them a touch of colour yourself.
- Select the fonts: you should opt for a font that fits your invitation style; choose a classic font for a plus of elegance or a vibrant one for a strong personality.
- Print: check your printer and test it to ensure that the ink doesn’t fade.
- Use ribbons: using ribbons to create pretty bows can make a difference for sure, so consider soft material ribbons to add some elegance.
DIY photobooth
Photo Booths are a great way to entertain your guests and capture beautiful moments of your big day. The only problem is that these services might exceed your budget and are usually limited to a couple of hours. Still, taking photos all night long on a beautiful background is possible if you choose to DIY it. For instance, you can opt for a vintage vibe and use two old doors, add some greenery, a vintage chair, and some neon lights, and here you have a beautiful retro background for your photos. Also, you can use a net curtain on a frame, decorate with some big artificial flowers and, last but not least, fairy lights to enhance the photo quality.
The bottom line
We hope that this article helped you find new budget-friendly ideas to make the most of your wedding day. Remember that happiness stands in beautiful moments with the right people by your side, so you don’t need to spend thousands of dollars to have an unforgettable day.