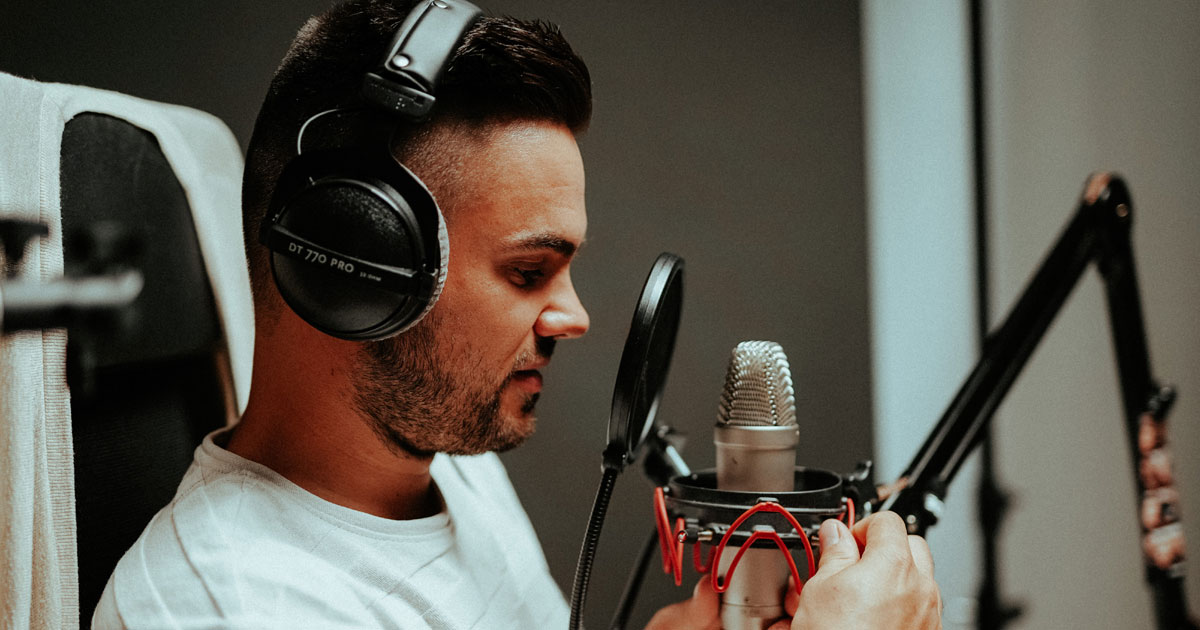
Broadcasting microphones are an important part of any audio setup, whether for live events or recording. They help to capture and amplify sound, making sure that your audience can hear clearly. There are many different types of broadcasting microphones available on the market, so it is important to choose the right one for your needs.
If you’re looking to improve your audio quality when streaming or recording, using a broadcasting microphone can make a big difference.
Here are some of the benefits of using a broadcasting mic:

1. Better audio quality: Broadcasting microphones are designed to pick up your voice clearly, even if there’s background noise. This can be helpful if you’re recording in a less-than-ideal environment or if you want your voice to sound professional when streaming.
2. More versatile: Some broadcasting microphones come with built-in features like EQ and gain control, which gives you more options for fine-tuning your sound. And because they’re designed for broadcast use, they tend to be more rugged and durable than standard microphones.
3. Plug-and-play: Many broadcasting microphones are plug-and-play, meaning you don’t need any special software or drivers to use them. Just plug them into your computer’s USB port and you’re ready to go.
How do you choose the right broadcasting mic for your needs?
When choosing a broadcasting mic, there are a few things you need to consider. First, what type of broadcast will you be using the mic for? There are different mics designed for different types of broadcasts, so you need to make sure you get one that is designed for your specific needs.
Second, what is your budget? There are mics available at all price points, so you need to figure out how much you are willing to spend on one.
Third, what is the quality of the mic? You want to make sure you get a high-quality mic so that your broadcast sounds clear and professional. Fourth, how easy is the mic to use? You want to make sure it is easy to set up and use so that you can focus on your broadcast and not worry about the technical aspects of the mic.
Choosing the right broadcasting mic can seem like a daunting task, but if you keep these things in mind it will be much easier. Talk to other broadcasters or audio experts if you are still unsure about which mic is right for you.
How do you set up a broadcasting mic?
When you are ready to start broadcasting, there are a few things you need to do to set up your microphone. First, connect the microphone to the mixing board. If you are using a condenser microphone, you will also need to connect a power source. Next, turn on the power for the mixing board and the amplifier. Then, adjust the gain knob on the mixing board until the green light is just barely flickering.
Now it’s time to adjust your sound levels. To do this, start by speaking into the microphone at your normal volume. Then, slowly turn up the fader knob on the mixing board until your voice is coming through clearly. Be careful not to turn it up too high or else your voice will sound distorted.
Once you have your sound levels adjusted, it’s time to start broadcasting! Make sure that you are speaking clearly and at a reasonable volume into the microphone so that your listeners can hear you properly.
How do you use a broadcasting mic?
Broadcasting microphones have been around for many years and are used in various settings, from radio stations to public announcement systems. While the design of these mics has changed over time, the basic premise remains the same: to capture and amplify sound waves.
There are two main types of broadcasting microphones: dynamic and condenser. Dynamic mics are typically cheaper and more rugged, making them a good choice for live settings. Condenser mics are more sensitive and therefore produce a higher-quality sound, making them ideal for studio recording.
To use a broadcasting mic, first, make sure that it is properly plugged into an audio source. If you’re using a dynamic mic, you will also need to connect it to a power source. Once everything is properly connected, simply speak or sing into the mic as you would normally. The sound waves will be captured by the microphone and amplified through the speaker or headphones that are connected to your audio source.
